I’ve got many emails about how to customize posted by line in Blogger posts. That’s why I’m writing this short tutorial for you.
Best Blogging Tools 2026
Starting a blog? The table below provides a quick overview of the best blogging tools to boost productivity, streamline your workflow, and drive more traffic in 2026.
| Tool | Use Of | Free Version | Pricing |
|---|---|---|---|
| Semrush | Keyword research, SEO analytics, and competitive insights for content growth | ✔ Yes | $165.17/mo |
| Jasper | AI-powered content generation and writing assistance | ✖ No | $59/mo |
| Grammarly | Grammar, spelling, and style checking for polished writing | ✔ Yes | $12/mo |
| Canva | Easy graphic design and visual content creation | ✔ Yes | $12.99/mo |
| Leadpages | Creating high-converting landing pages and lead generation funnels | ✖ No | $37/mo |
I think you can do this following changes in your blogger blog. No worries! If you’ve got any problem then drop a comment. I will try to help you.
Notice: This article only applies to blogs using a classic template. If you’re using Layouts, you can simply click the “Edit” link on your Blog Posts page element.
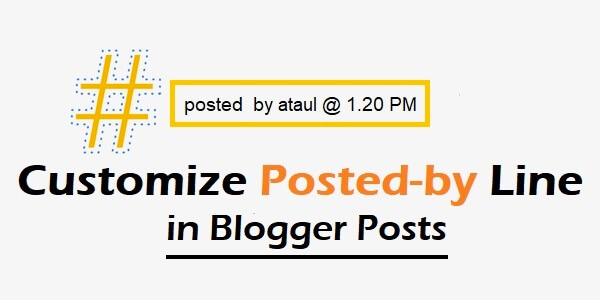
Customize Posted by Line in Blogger Posts
If you wish to customize your Post footer in one of Blogger’s default templates, go to Template | Main Template and scroll until you see this code:
<div>
within the <Blogger> and </Blogger> tags. Anything between it and the closing </div> tag is the footer.
The first part (the “#”) is called the permalink; this is code that generates it:

The text inside the quotation marks generates the link, <$BlogItemPermalinkURL$> being the link to that specific post on the archive page.
The # sign at the end, just before the </a>, is the link text (feel free to change it to whatever you wish, including another template tag, <$BlogItemDateTime$> for example).
The second part, “posted by etc.” is generated by this text, and can be modified as you wish:

Hey, you can also display a permalink as the following manner:
<a href="<$BlogItemArchiveFileName$>#<$BlogItemNumber$>" title="permanent link">#</a>